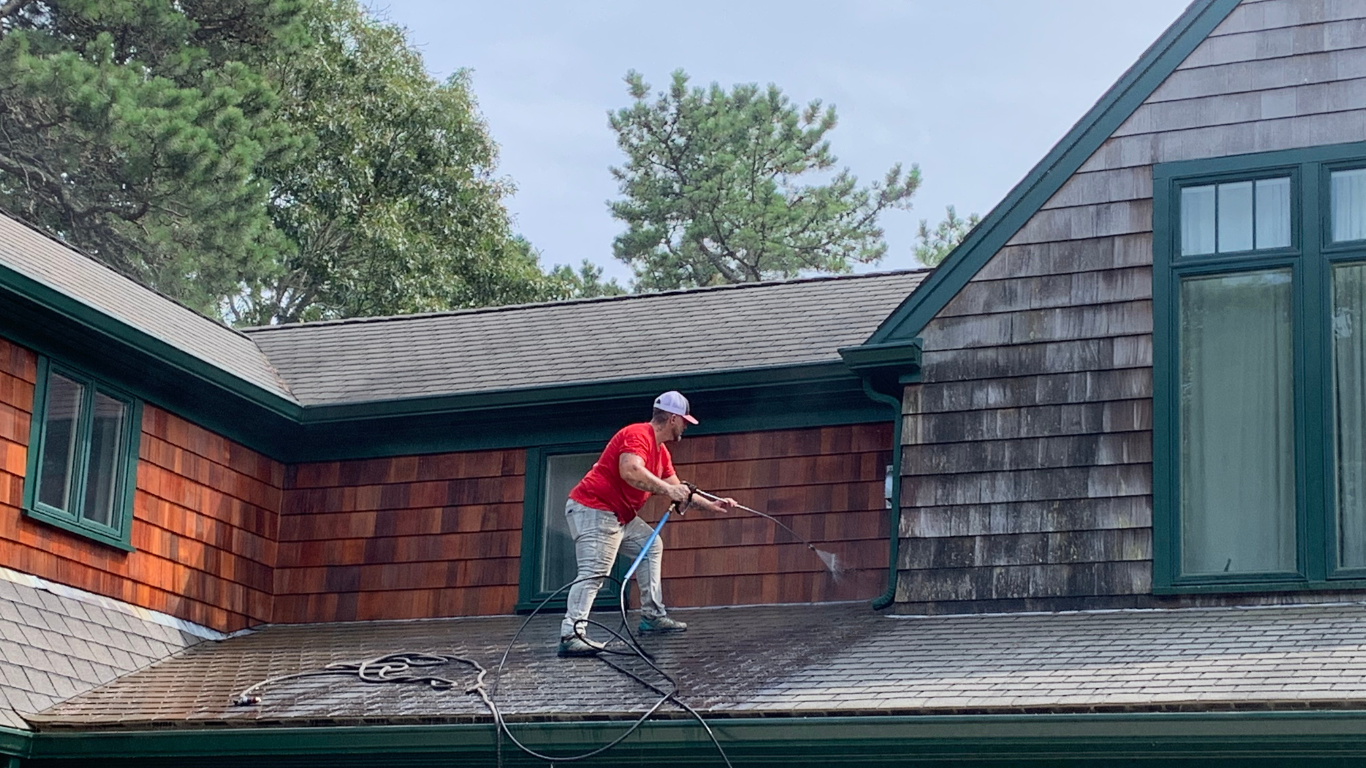
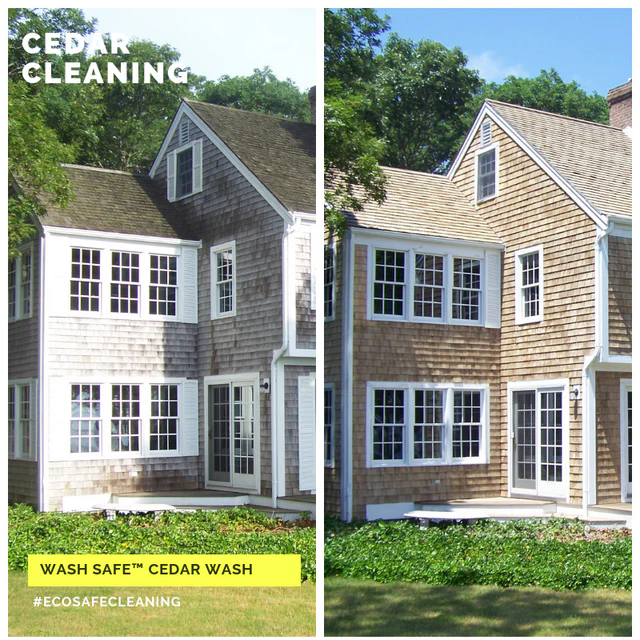
How to Clean Cedar Siding on a House:   Eco-Safe Guide for Cleaning Stains from Moss, Mold, Algae, Lichen on Cedar Shingles, Shakes, Clapboard and Log Cabins

Welcome to Wash Safe™ Industries. In this step-by-step guide, we're going to teach you how to clean cedar shingles, cedar shakes, cedar clapboard, and log cabins safely and effectively using our original Eco-Safe Cedar Wash and cleaning method. Our proven method provides the best results. Our eco-friendly cedar cleaner is perfect for those looking to maintain the beauty and longevity of cedar surfaces without resorting to harsh chemicals. With over 15 years of experience cleaning over 4,500 homes on Cape Cod (where there is an abundance of cedar homes), we've engineered both techniques and formulations to rid properties of pesky, ugly stains from moss, mold, lichen, and algae without bleach or harmful chemicals. 


Our process ensures safe cleaning and effective stain removal while preventing stains from coming right back. By following our directions, you can achieve professional results with DIY cedar shingle cleaning, ensuring your cedar home looks its best year-round. Trust Wash Safe™ Industries for all your cedar cleaning needs, and discover why we're the top choice for homeowners seeking safe and effective cleaning solutions.

Cedar Cleaning Safety & Reminders

Let's get right into cleaning instructions for cleaning your cedar. But, before we do, everyone needs to read safety precautions and have an understanding of the safety precautions involved.

Use extreme caution cleaning your cedar especially if you're cleaning a cedar roof. Cedar roofs are WAY more slippery than asphalt so we recommend hiring a professional for these projects.  Be careful on ladders and steer clear of electrical wires. If you are not skilled, comfortable or physically able, contact a professional. If you do not have the proper safety equipment, contact a professional.

Cover and avoid contact with windows, glass and raw metals (copper and aluminum) when spraying. It's best to rinse windows down before and after every cleaning application to avoid run off. If you do not rinse windows after or let the sun bake the formula on glass, etching can occur. While their is a solution for this (Mr. Clean Magic Eraser or oven cleaner), save yourself the headache and follow instructions completely.

Avoid contact with eyes and prolonged skin contact. Wear safety goggles and gloves when cleaning to uphold the highest safety standards. Keep out of reach of children and pets. Do not ingest. If swallowed, drink water and seek immediate medical attention.

Title

Before Getting Started, 
You Should Know..

The goal is to clean your cedar safely and effectively and the most key component to this process is to coat shakes, shingles, clapboard or logs with Cedar Wash, which may not be easy task -depending on the and can be quite dangerous. The safest way to do this is to use a Transfer Pump to spray your siding or roof. If your roof area is walk-able then a garden-style pump sprayer may be all that is needed - however, a steep roof must be sprayed from the ladder. The safest way to do this is to lean a ladder up on your roof above the gutter line. Be sure to use a ladder stabilizer to prevent the ladder from sliding along the gutter! This is the best spot to spray from. See below for the complete Transfer Pump setup guide.

I ALREADY HAVE A TRANSFER PUMP, TAKE ME STRAIGHT TO INSTRUCTIONS
Title

Our Technician Recommended Garden Pump Sprayer  for small home improvement roof cleaning projects

We like this one from D.B. Smith FIELD KING. It's the 190328 Backpack Sprayer, 4 Gallon.  We recommend this backpack sprayer for its ease of use, efficiency, and excellent build quality. The sprayer offers exceptional spray coverage, making it ideal for large areas and hard-to-reach spots. Its comfortable backpack design, durable construction, and easy cleanup make it a good home improvement investment for any spraying needs. You'll use it again!

Our Technician Recommended Transfer Pump Setup for Commercial Projects and Roof Cleaning Jobs

Here it is! A quick, short list of everything you need for the Transfer Pump Setup. Check back in the future for a complete video on how to assemble the pump system. This is most often used with a professional job as, you will see, it is not a cheap setup. But it's an effective setup that could save your organization a lot of money because it will produce a more rapid application. If you're a homeowner with a walkable, one story roof (and you're comfortable and have the safety equipment needed to get on your roof) then you can use the affordable backpack sprayer pictured here.

A 24-32 Gallon container or a 55 Gallon plastic drum. We like this one from Amazon because it's lightweight, professional-looking, durable and will be long-lasting. A trash can will also do. This is what you are going to mix your formula in. 


If you have a smaller projet (and are using a Garden Pump Sprayer to apply) then you can mix your solution in a 5 Gallon pail.

A hose connector for the container.

A 1-3 horsepower gas water transfer pump. 

A short piece of hose 40” or so to run from the bottom of the container to the inlet on the water transfer pump.

A 50-100 foot garden hose to attach to the outlet of the water transfer pump. We recommend this one by Gukok: it's a Non-Expanding Garden Hose, Ultra Lightweight, Abrasion Resistant, Durable, Kink-Free Garden Hose, RV, Marine and Camper Hose, 100-Feet.

Title
Title

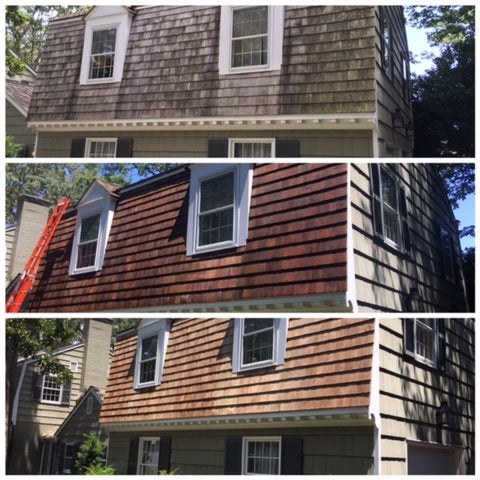
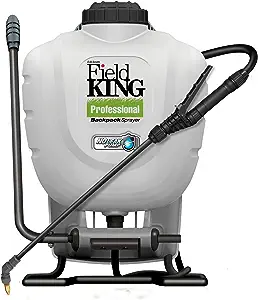
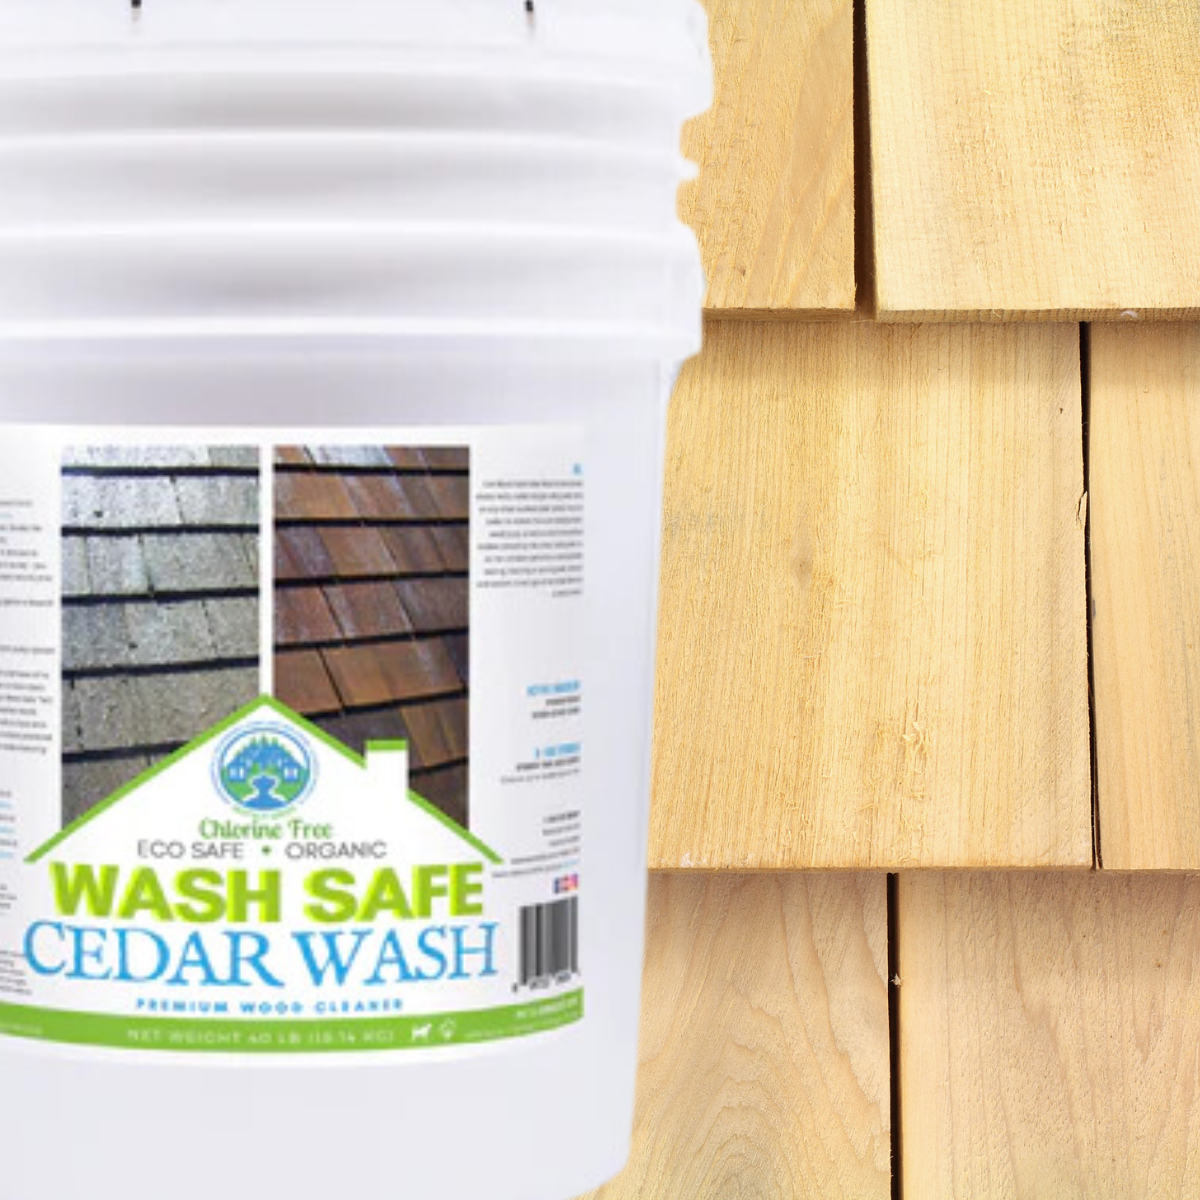
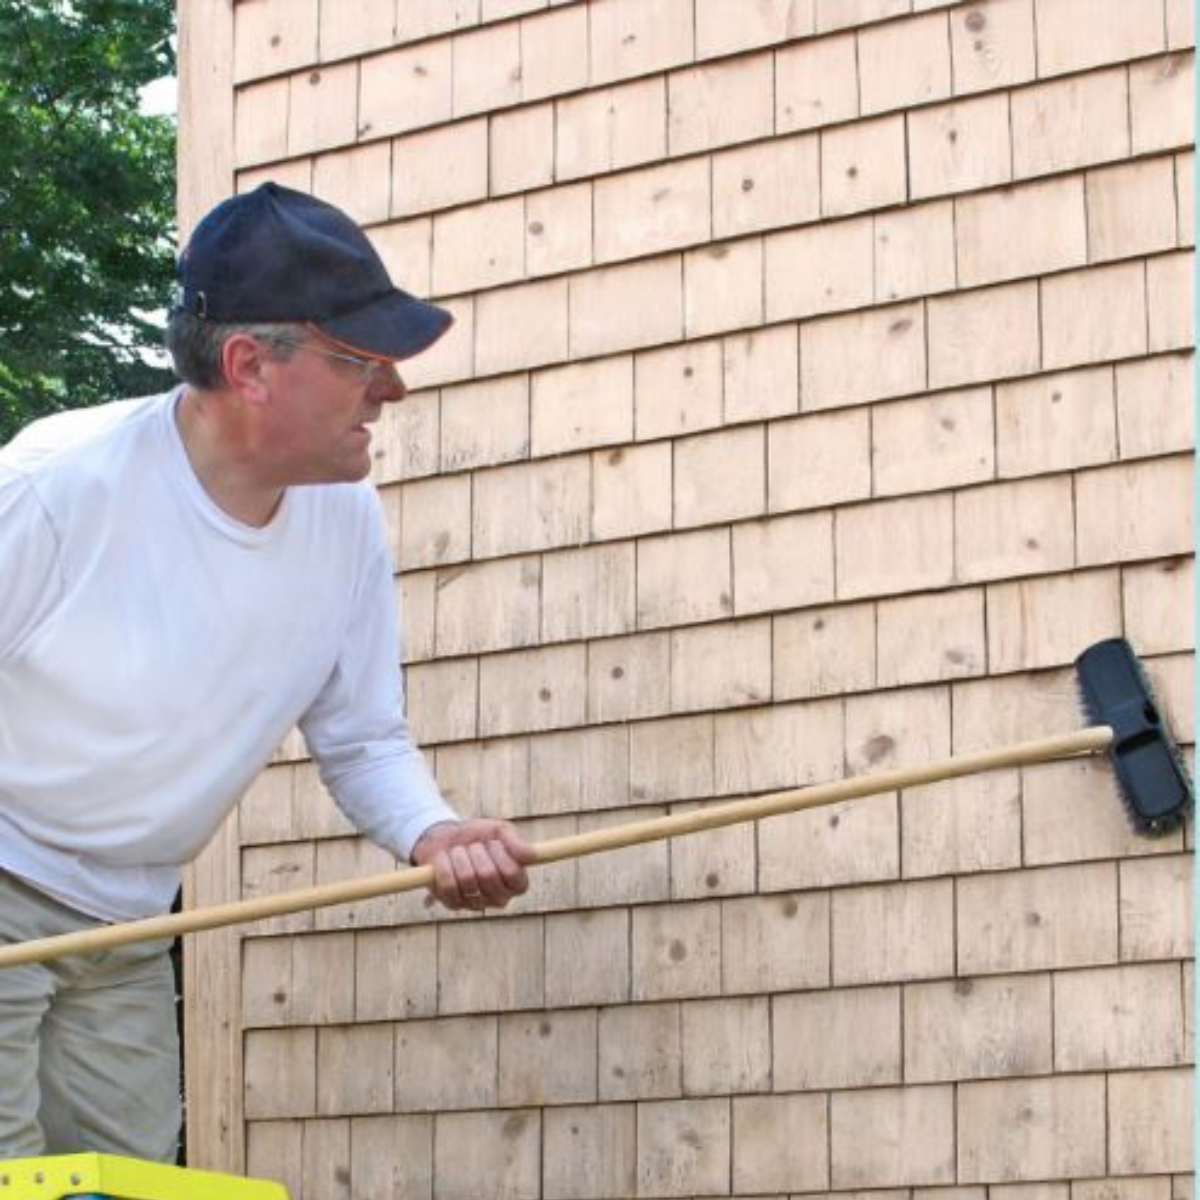
How to Clean Cedar Shingles, Shakes, Clapboard and Log Cabins with Wash Safe Cedar Wash

Step 1: Determine How Much Roof Wash Solution You Will Need to Make to Clean the Roof

You are going to use 4 oz (1/2 cup) of product for every gallon of water. Each gallon of water will clean up to 250 square feet. For extremely cedar dirty shingles and shakes, you want to double that amount to 8 oz (1 full cup) for every 250 square feet. Below is a guide that breaks down how much coverage you are getting from the sizes of containers we sell:


For approximately 3,000 sq ft :

3 lbs treats 3000 sq ft and makes 12 gallons of cedar cleaning solution.
Square footage per gallon = 3000 sq ft / 12 gallons = 250 sq ft per gallon.
 

For approximately 10,000 sq ft :

10 lbs treats 10,000 sq ft and makes 40 gallons of cedar cleaning solution.
Square footage per gallon = 10,000 sq ft / 40 gallons = 250 sq ft per gallon.


For approximately 40,000 sq ft :

40 lbs treats 40,000 sq ft and makes 160 gallons of cedar cleaning solution.
Square footage per gallon = 40,000 sq ft / 160 gallons = 250 sq ft per gallon.

Title

Step 2: Know the Best Conditions for Doing this Project and Plan Accordingly. 

Do not approach this project haphazardly. Cedar Wash is best applied to dry cedar which has not encountered rain in a while so that it can be absorbed. Morning or afternoon is best. Avoid high heat in the middle of the day. Never apply with rain or snow. The same goes for Cedar Seal. Do not apply Cedar Seal if rain is in the near future. Do not apply seal if surface is still very wet. Slightly damp is OK.. We also recommend waiting for a day without wind to apply Cedar Seal to keep it from migrating over to windows.


As the Boss would say, you are waitin' on a sunny day.. A few of them back to back is ideal!

Title

Step 3: Mix Your Cedar Cleaning Solution

When you have your product ratio, you will mix both powder concentrate and water in a 5 gallon bucket, plastic drum or trash barrel. Mix with warm to hot water. Do you have to have warm-to-hot? No.. but it does work best. 9 out of 10 times our Professional contractors are *not* using hot water because all they have access to is cold. Cold works just fine! Hot will make your life a little easier.


Stir frequently for 15- 20 minutes to activate the solution. Stirring is absolutely KEY to the success of your cleaning. You NEED to stir consistently for 15-20 minutes. You can't mix a little and walk away. We have contractors that will use paint mixers for this or our team uses their power washing wands flipped upside down and held in place with clamps to mix larger batches. 

Title

Step 4: Prepare to Spray Cedar Cleaning Solution with Your Assembled Transfer Pump OR Garden Pump Sprayer

See our complete breakdown of pieces needed to construct a Transfer Pump System above. 


Once the system is assembled, it's time to spray...

Title

Step 4: Turn Pump on and Begin Spraying Cedar with Cedar Wash

Start by aiming at the highest point and letting the solution run down over roof shingles or siding shakes. Be sure to coat the entire surface! If your cedar had an old stain or sealer on them, the Cedar Wash will penetrate it, *dissolving the old stain enough to be washed off. 


*That doesn't mean Cedar Wash will dissolve *all* stain. This product is not formulated to be a stain stripper. It it formulated to remove organic stains from moss, mold, algae and lichen. In the process, it can also dissolve weakened stain that has been on a property for a long time but it's not guaranteed — te

Title

Step 5: Rinse off stains from moss, mold, algae and lichen using either a power washing wand

Soft Tip Pressure Washer Nozzle Value Pack

Quantity

See the soap bubbling up on the grime?  Now you're ready to rinse the moss, mold and algae away to reveal like-new cedar. Remember, you'll want to start from the top and aim your wand down to avoid getting water under shakes and achieve consistent, even results without splotchy patches. As you're making sweeping motions, keep your wand about 12-16 inches away from the siding. Pay close attention to what you're spraying. Avoid windows (best to cover if you can) light fixtures, vents, metal that has not oxidized and eaves. 


The quickest way to wash is with a pressure washer but good results can come from light brushing with a scrub brush + a hose powered rinse. Using a garden hose and deck brush is one way of rinsing clean but it is slow and not as effective. Using a pressure washer is much faster. The key to pressure washing cedar is the pressure and the nozzle on the end of the pressure washer. Stock pressure washing nozzles put out a very sharp stream of pressure if you get the wand to close to the cedar you will leave a scar. Our Soft Tip Nozzles have "open mouths" so the water comes out just like a hose nozzle and will reduce pressure by 75%. You could clean with 2,000psi and by adding the Soft Tip reduce pressure to about 500psi. We highly recommend adding a Soft Tip to your pressure washer when cleaning cedar.


When you have completed your cleaning, let it dry for 48 hours and then apply our Cedar Seal to protect it.

Title

How to Seal (or Weatherproof) Cedar Shingles, Shakes, Clapboard and Log Cabins with Wash Safe Cedar Seal 

Let's put the finishing touches on your cedar shingles, shakes and clapboard by applying two coats of our Cedar Seal. But, before we do, everyone needs to understand the  key factors needed for best results...

 MAKE SURE YOUR CEDAR HAS BEEN CLEANED USING ONLY CEDAR WASH THEN FULLY DRIED

 You do not need to use any additional surfactants, brighteners or other chemical for the process. Do *NOT* mix any other formula with ours. Allowing the cedar to dry completely for at least 48 hours after cleaning is crucial before applying the cedar seal. Like a sponge, cedar wood can only absorb the sealant effectively if it is dry and not filled with water. When the wood is still wet, its pores are occupied by water molecules, preventing the sealant from penetrating deeply and adhering properly. This can lead to a weaker bond and reduced protection against moisture, UV rays, and other environmental factors. 

NEVER THIN THE FORMULA, ADD BLEACH OR ANY FORMULA TO CEDAR SEAL

Bleach is highly damaging due to its harsh chemical composition, which can strip away the natural oils that protect and preserve the wood. Chlorine in bleach causes discoloration and weakens wood fibers, leading to increased brittleness and potential cracking. This degradation reduces the lifespan of the wood, making it more susceptible to environmental factors such as moisture, which can further accelerate decay and promote mold and mildew growth. Instead, eco-friendly cleaning solutions are recommended to maintain the beauty and durability of cedar without causing harm.

DO NOT APPLY THIS FORMULA TO YOUR HOME IF TEMPERATURES ARE LESS THAN 40 DEGREES

 At low temperatures, the sealant's drying and curing process can be significantly hindered, leading to inadequate adhesion and reduced effectiveness. The water in the sealant may also freeze, causing uneven application and potential damage to the cedar wood. Furthermore, cold weather can cause the sealant to thicken, making it challenging to apply smoothly and evenly. To ensure optimal performance and durability, it is essential to apply the cedar seal within the recommended temperature range.

Step 6: Turn Pump on and Begin Spraying Cedar with Cedar Wash

Make sure ALL cleaning solution has been rinsed off from cedar surface. Any remaining cleaning products on your cedar will cause the sealer to fail. When you have completed your cleaning, let it dry for 48 hours and then apply our Cedar Seal to protect it. 


Cedar Seal is designed to be easy-to-apply. We recommend spraying it with a backpack sprayer then back-brushing it. Cedar Seal will leave no lap marks. 2 coats of Cedar Seal should be applied - the second can be applied when the first coat is still moist, although there should be no visible pools or puddles. 


You can walk on the wet surface if it's a safe, walkable roof, there will be no footprints left behind.


Title

Cedar Cleaning Questions? 
We Have Answers...

How do I keep my cedar clean throughout the seasons?

You can clean cedar naturally (without pressure washing) with a clean and seal project every 3-5 years for optimal maintenance. If you are more lax on the apperance, there are a lot of homeowners who will do this project every 5-10 years. What's key is cleaning AND sealing to prolong the life of your clean and homeowners who seal get about 5 additional years of clean coverage to their resuls.

Do I have to clean with warm water or can I use cold? 

Warm is best but you can use cold if you do not have access to warm water. The product works because of the oxygen, it develops when it is mixed with water. The oxygen needs time to warm.

Do I apply the cedar cleaner to a wet or dry surface?

Our products are designed to be applied to a completely dry surface. If the surface is wet, it makes it difficult for the product to adhere to it. It's key that the product adheres to the surface in order to go to work on the stains from moss, mold, algae and lichen. A dry surface is optimal for the products to deliver the best results.

Can I apply the product using a pressure washer?

This is a hard NO. You can only rinse with a pressure washer. Foaming action helps the product to stay on the surface to work. Putting it
through a pressure washer or a soap type siphon dilutes the product. It also does not give it enough time to be activated. The product works because of the oxygen. It develops when it is mixed with water. The oxygen needs time to form.

Do you offer a guarantee on your Cedar Wash product?

Wash Safe offers a 30-day money back guarantee on all 3LB powder concentrate formulas if product is used according to our instructions provided. We do not offer a money back guarantee on larger sizes because it is advised to try a smaller size before using it for any application. Especially in the instance of a professional power washing job, you should not be using the product for the first time on a customer's home. You should be testing the product on your home or a friend of family's before being hired for work. Think of it like hair dye at a salon.. would you want the stylist using the dye on you for the first time in her chair? We do not offer a money back guarantee on liquids so the same does not apply for Cedar Seal. We highly recommend buying a gallon size container to do a test coating before placing a volume order.